This Way to the Forums! Join in and Post :)
And an Archive of the earlier Forum! This one is read only but brilliant stuff!
Category:Ian Tiley
Jump to navigation
Jump to search
Photos taken by Ian Tiley at the Bristol Railway Archive.
Pages in category "Ian Tiley"
The following 33 pages are in this category, out of 33 total.
H
Media in category "Ian Tiley"
The following 77 files are in this category, out of 77 total.
-
 13 Arches Viaduct1.jpg 936 × 650; 110 KB
-
 13 Arches Viaduct2.jpg 935 × 606; 101 KB
-
 13 Arches Viaduct3.jpg 936 × 625; 117 KB
-
 13 Arches Viaduct4.jpg 469 × 640; 59 KB
-
 13 Arches Viaduct6.jpg 851 × 536; 75 KB
-
 13 Arches Viaduct7.jpg 851 × 548; 84 KB
-
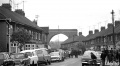 13 Arches Viaduct8.jpg 936 × 516; 87 KB
-
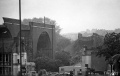 13 Arches Viaduct9.jpg 936 × 589; 97 KB
-
 2007-10-20-AVR-BittonHill-01.jpg 1,024 × 575; 91 KB
-
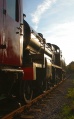 2007-10-21-AVR-01.jpg 477 × 768; 71 KB
-
 2007-10-23-AVR-01.jpg 1,209 × 1,536; 150 KB
-
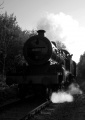 2007-10-23-AVR-02.jpg 1,455 × 2,052; 312 KB
-
 2007-10-28-AVR-01.jpg 1,024 × 441; 37 KB
-
 3 Arch Viaduct1.jpg 850 × 530; 98 KB
-
 3 Arch Viaduct2.jpg 850 × 449; 103 KB
-
 3 Arch Viaduct3.jpg 1,024 × 582; 181 KB
-
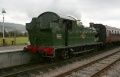 5619-1.jpg 850 × 547; 98 KB
-
 5619-2.jpg 483 × 600; 52 KB
-
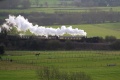 5619-3.jpg 1,498 × 996; 241 KB
-
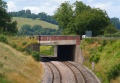 A4 Bristol Road1.jpg 1,024 × 710; 205 KB
-
 Avrcoach.jpg 950 × 633; 183 KB
-
 Avrcoach2.jpg 950 × 633; 170 KB
-
 Bridge 25-1.jpg 1,024 × 1,388; 291 KB
-
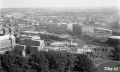 Canons Marsh1.jpg 1,025 × 614; 144 KB
-
 Dartmouth Express3.jpg 540 × 625; 55 KB
-
 Dartmouth Express4.jpg 575 × 625; 99 KB
-
 Fenshurst Gardens3.jpg 1,735 × 972; 353 KB
-
 Fenshurst Gardens4.jpg 2,052 × 1,293; 535 KB
-
 Hodshill2a.jpg 1,024 × 322; 127 KB
-
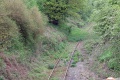 Itchington Road2-5.jpg 1,000 × 667; 308 KB
-
 Kingswood Junction1.jpg 634 × 418; 37 KB
-
 Kingswood Junction2.jpg 774 × 498; 62 KB
-
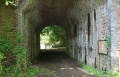 LimestoneLinkEngineWood1.jpg 1,024 × 656; 237 KB
-
 LimestoneLinkEngineWood2a.jpg 702 × 768; 152 KB
-
 LimpleyStoke1.jpg 1,024 × 655; 254 KB
-
 LimpleyStoke2.jpg 1,024 × 638; 241 KB
-
 Littleton Lane1.jpg 1,024 × 683; 175 KB
-
 Littleton Lane2.jpg 1,024 × 683; 217 KB
-
 Littleton Lane3.jpg 1,024 × 683; 250 KB
-
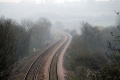 Long Ashton Bypass2.jpg 1,024 × 683; 197 KB
-
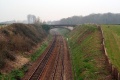 Long Ashton Bypass3.jpg 1,000 × 667; 256 KB
-
 Long Ashton Bypass4.jpg 564 × 750; 121 KB
-
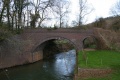 Midford Brook1.jpg 1,024 × 683; 223 KB
-
 Midford Brook2.jpg 1,024 × 683; 261 KB
-
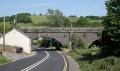 Midford Viaduct3.jpg 1,024 × 605; 199 KB
-
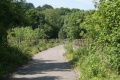 Midford Viaduct4.jpg 1,024 × 683; 281 KB
-
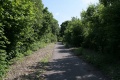 Midford Viaduct5.jpg 1,024 × 683; 262 KB
-
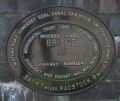 Midford Viaduct6.jpg 1,024 × 860; 186 KB
-
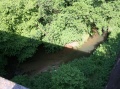 Midford Viaduct7.jpg 1,024 × 758; 258 KB
-
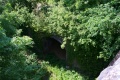 Midford Viaduct8.jpg 1,024 × 683; 305 KB
-
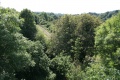 Midford Viaduct9.jpg 1,024 × 683; 281 KB
-
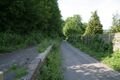 Midford2.jpg 1,024 × 683; 185 KB
-
 Midford3.jpg 1,024 × 794; 180 KB
-
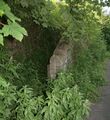 Midford4.jpg 704 × 768; 180 KB
-
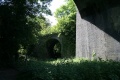 MidfordGWR1.jpg 1,024 × 683; 211 KB
-
 MidfordGWR2.jpg 1,024 × 683; 230 KB
-
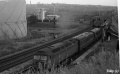 Narroways Hill1.jpg 800 × 494; 95 KB
-
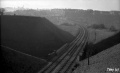 Narroways Hill2.jpg 1,000 × 608; 299 KB
-
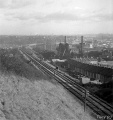 Narroways Hill3.jpg 601 × 640; 84 KB
-
 Nibley Lane5.jpg 1,000 × 750; 354 KB
-
 North Somerset Viaduct1.jpg 1,024 × 683; 193 KB
-
 River Boyd1.jpg 1,024 × 668; 175 KB
-
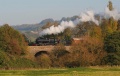 River Boyd2.jpg 1,024 × 650; 180 KB
-
 Rose Green Road1.jpg 774 × 561; 61 KB
-
 Rose Green Road2.jpg 774 × 406; 73 KB
-
 RowleyFarmLane1.jpg 1,024 × 683; 288 KB
-
 RowleyFarmLane2.jpg 1,024 × 683; 236 KB
-
 The Shallows1.jpg 2,048 × 1,365; 445 KB
-
 The Shallows2.jpg 2,048 × 1,365; 550 KB
-
 TuckingMillLane1.jpg 1,024 × 632; 169 KB
-
 Twertontunnel1.jpg 1,024 × 683; 314 KB
-
 Twertontunnel2.jpg 1,024 × 768; 306 KB
-
 Warminster Road1.jpg 987 × 768; 279 KB
-
 Warminster Road2.jpg 1,024 × 683; 244 KB
-
 Warminster Road3.jpg 704 × 768; 133 KB
-
 Warminster Road4.jpg 1,024 × 683; 241 KB
-
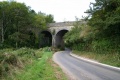 Wellow Viaduct1.jpg 1,024 × 683; 212 KB


